Posts

Showing posts with the label Tutorial

Colors by Llarowe May POTM & #clairestelle8may Scales prompt

Image
Hey Everyone, Hope your week has been going ok? Today I have swatches of the most recent Polish of the Month by Colors by Llarowe. I got this from Rainbow Connection but unfortunately it is now sold out and it was a Limited Edition one time only polish but its so beautiful I had to show it off. Also this month I am taking part in @clairestelle8 challenge on instagram and I used this polish as the base for the 2nd prompt which is scales. I have done a step by step for how I created it. Polish of the Month This month the polish was a gorgeous green shifty multichrome polish called Emerald Illusion. The polish is a turqouise base that shift to a royal blue to a bright emerald green with shimmer. Leah Ann always pulls out something extra special and this is an absolutely extraordinary polish. 💅🏻 My swatches show 2 coats with no top coat 💅🏻 These 1st pictures were taken indoors under my LED light - These next picture were taken out in my garden in natura...

Creative Shop Plate 66 Swatches and Neon Unicorn Tutorial

Image
Hello Lovelies, I hope you have all had an amazing Easter Weekend with your friends and families and got treated to lots of Easter Eggs! Today I have swatches of one of the new Creative Shop plates I recently brought from Rainbow Connection and has I loved one of the images so much I have a quick tutorial on how I created the accent nail for my recent manicure. **I will leave all links at the end** So this is the plate I got and it has some really cute images on it I love the Creative Plates because they are full of such unique and quirky images, they have so much detail and are really well etched. The image sizes are a really good size too which means if you have long nails these plates would be fine for you. For the Swatches I used - 2 in 1 Embellished Clear Stamper Painted Polish - Midnight Mischief I was so happy with how well the images from this plate picked up - I used my usual gentle scrape with a firm scraper and rolled the stamper over the image, ...

Reverse Stamping Tutorial

Image
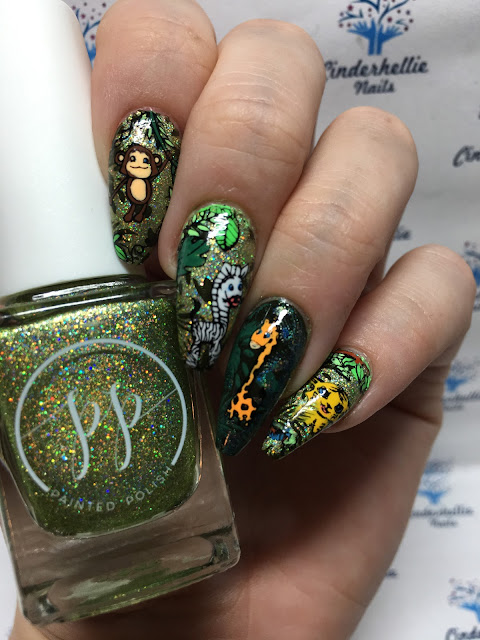
Hi Everyone, I have another tutorial post for you today - last week I did a step by step for making decals and today I'm going to do a step by step for reverse stamping. For those of you who are unsure reverse stamping is when you colour in an image on the stamper head and then stamp onto the nail, you can also peel it off and apply like a decal if you prefer. I run a weekly challenge in a group on Facebook and last week the theme was Welcome to the Jungle which I had the perfect stamping plate for and using the reverse stamping method I created these. So here is how I created them -  You will notice from the step by step pictures there is a change to the final mani and I will explain why at the end! I started with 2 coats of Painted Polish 'Charmed at the Chateau and top coated it. Using Painted Polish Midnight Mischief (In my opinion this is the best stamping/one coater black around) I picked up my chosen images on separate stampers - I only have 3 clear whi...

Sugar Bubbles SB049 Swatches and Decal Tutorial

Image
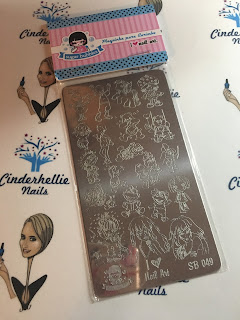
Hi Lovelies, I hope you are having a good week? I have another stamping swatch post for you today plus a tutorial for making your own decals. Last week I purchased a new Sugar Bubbles stamping plate from  Rainbow Connection  because the minute I saw it I knew I needed it. This plate is full of 80s and 90s cartoon characters and as I grew up watching some of these there was no way I could not get this. The characters include Care Bears, My Little Pony, Doug, Rugrats and lots more and there is so much detail in these images. I like the Sugar Bubbles plates because they are so detailed and well etched but I do find with some of the finer lines cotton wool gets caught so I just run over with my finger to clean it. I always use a quick, firm scrape with these plates and I find with my trusty Sticky Fab ur Nails stamper I always get great results. I did these swatches on swatch sticks and for anyone who wishes to know the background polishes are all 6 from the Bundle...